
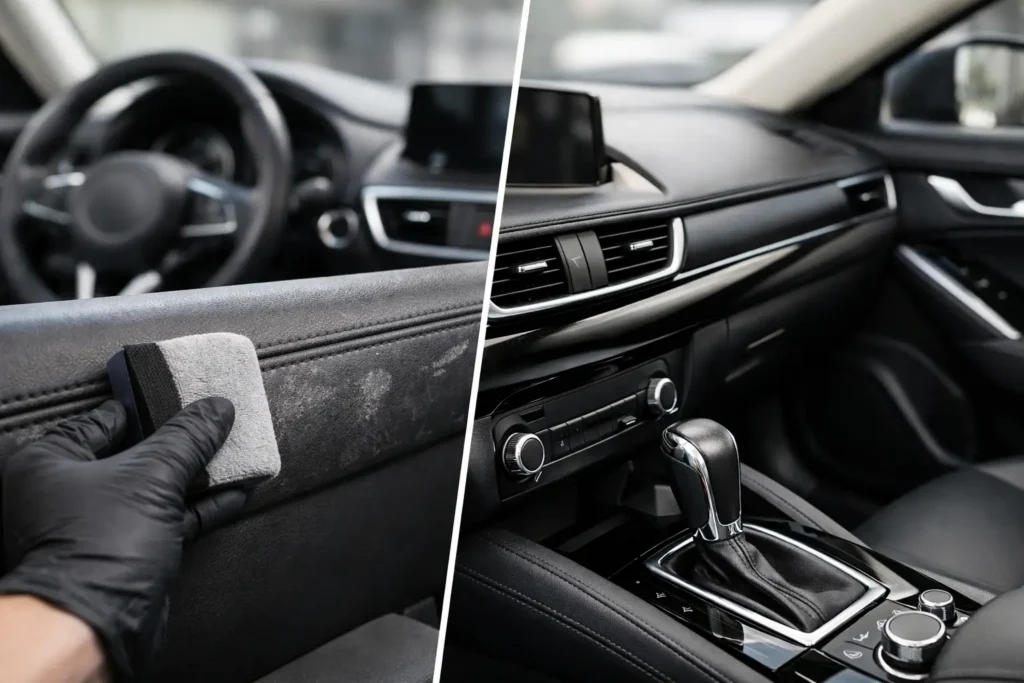
A cracked console lid, peeling door pull, or faded woodgrain panel can make a well-kept vehicle feel tired the moment you open the door. The problem is not merely cosmetic. Interior surfaces are what you see, touch, and judge every time you drive. Professional car interior trim restoration brings those parts back into visual alignment with the rest of the vehicle, whether the goal is faithful factory-correct repair or a fully custom finish.
The right result does more than cover damage. It preserves the original shape, texture, fitment, and character of the part while creating a finish that holds up to daily use. That takes more than a quick dye job or an off-the-shelf trim coating.
What Car Interior Trim Restoration Can Repair
Interior trim is a broad category. It includes dash panels, center consoles, door panels, armrests, shifter surrounds, e-brake handles, steering wheel trim, seat-side plastics, woodgrain pieces, carbon fiber accents, and painted interior components. Each material wears differently, so each requires its own repair and refinishing process.
Soft-touch coatings commonly become sticky, scratched, or peel away in high-contact areas. Vinyl and plastic fade from sun exposure, develop gouges, or show a chalky appearance. Leather-trimmed components may harden, crack, discolor, or separate at seams. Genuine wood and woodgrain veneers can lose their clear finish, fade unevenly, or sustain chips around edges. Carbon fiber can yellow, delaminate, or simply no longer fit the direction of a custom interior build.
The best repair method depends on the condition of the part and what it was originally made from. A scuffed plastic trim piece may be restored through careful cleaning, repair, texture work, adhesion preparation, and color-matched coating. A cracked leather console or armrest may need new upholstery rather than surface repair. A worn steering wheel may require complete reupholstery to restore both its appearance and the feel of the rim in your hands.
Restoration Is Different From a Temporary Cover-Up
Many interior trim products promise a fast transformation. Some can improve a lightly faded panel, but they are not always suitable for parts that are cracked, peeling, heavily handled, or valuable. Spraying color over failed coating without removing the unstable material often leads to another round of peeling. Filling a deep gouge without rebuilding the texture can leave a repair that is obvious in daylight.
Professional restoration begins with diagnosis. The technician needs to identify the substrate, determine whether the existing coating is stable, inspect mounting points and edges, and assess whether a previous repair is affecting the part. Preparation is where the durability of the final finish is decided.
For a painted or dyed component, the process may involve stripping failed finishes, repairing damage, smoothing or recreating texture, applying the correct primers and coatings, then allowing proper cure time. For woodgrain refinishing, the work may include removing damaged clear coat, correcting the underlying finish, and rebuilding depth and gloss without losing the detail of the grain. With leather, material selection, stitch pattern, padding condition, and seam placement all matter as much as color.
A lower-cost repair can make sense for a daily driver with minor wear. For a collector vehicle, luxury car, or custom build, it is usually worth choosing the method that respects the original material and keeps the repair from standing out later.
Factory-Correct or Fully Custom: Choose the Right Direction
Not every vehicle owner wants the same outcome. Some want an OEM-style restoration that makes a classic or late-model interior look as if it never aged. Others want to update an outdated cabin with new materials and finishes that better match the vehicle’s exterior, wheels, or performance upgrades.
Factory-Correct Restoration
Factory-correct work focuses on matching the original color, sheen, texture, grain, and construction as closely as possible. This is especially important on rare vehicles, classic cars, luxury models, and vehicles being prepared for sale or judged events. A trim piece can be technically repaired yet still look wrong if the gloss level is too high, the leather grain is too smooth, or the color is slightly off next to untouched panels.
The challenge is that factory finishes vary with age and exposure. A color code is useful, but it does not always account for 10 or 20 years of sunlight. Accurate restoration often requires visual color matching to surrounding components rather than relying on a formula alone.
Custom Interior Upgrades
Customization allows you to change the personality of the cabin while retaining the original parts and fitment. Carbon fiber conversion, suede wrapping, painted accents, custom leather, and refinished woodgrain can turn a dated interior into a more modern, performance-focused, or luxury-oriented space.
The key is restraint and coordination. A forged carbon-look dash panel may work beautifully with black leather and contrast stitching, but it can look out of place beside untouched glossy burl wood. Suede on a steering wheel, shifter, and console lid can create a purposeful driving environment, while adding it to every surface may make maintenance more demanding. Materials should be selected for both appearance and how the vehicle is used.
The Parts That Make the Biggest Difference
If a full interior restoration is not necessary, start with the components that dominate the driver’s visual and tactile experience. The steering wheel is often the strongest first upgrade because it is always in view and in your hands. Worn leather, shiny grips, damaged wood, or faded trim on the wheel can make the whole cabin feel older than it is.
Center consoles and armrests are another high-impact category. They collect scratches, body oils, spilled drinks, and UV damage, and they sit at the center of the cabin. Door pulls, switch surrounds, and dash trim are smaller parts, but they are often where peeling soft-touch finishes become impossible to ignore.
For classic and luxury vehicles, woodgrain trim deserves particular attention. When the finish is cloudy, cracked, or fading at the edges, it can distract from an otherwise exceptional interior. Proper refinishing restores the richness and depth that made the material a focal point in the first place.
What to Expect From a Professional Send-In Process
A send-in service is often the best option when the part can be removed safely and the vehicle is not located near a specialist. It gives the restoration team access to the component without working around glass, electronics, seats, and surrounding trim. That controlled setting is especially valuable for steering wheels, consoles, dash pieces, woodgrain panels, and smaller interior components.
Before shipping, photograph the part from multiple angles and note any mounting tabs, switches, trim bezels, or hardware that must remain with it. Clear photos help confirm the condition, material, and requested finish. If the goal is a color match, include detailed images of the adjacent interior surfaces in natural light whenever possible.
Packaging matters. Wrap the part so that corners, tabs, and finished faces cannot rub against cardboard or shift in transit. Fragile woodgrain and glossy trim should be protected separately from metal brackets or loose hardware. Do not assume a damaged part can tolerate careless shipping simply because it is being repaired.
At Craft Customs, work is completed in-house, which allows the restoration process to stay under the control of technicians who understand the material, finish, and end use of the component. That matters when a repair calls for more than one skill, such as repairing a substrate before paint matching, reupholstering leather around a console, or coordinating a steering wheel finish with related trim pieces.
How to Keep Restored Trim Looking New
Restoration gives the part a new starting point, but care determines how long it stays that way. Keep harsh household cleaners, abrasive pads, and solvent-heavy products away from interior surfaces. A cleaner that works on exterior plastic or glass can damage dyed finishes, leather coatings, soft-touch materials, and clear-coated wood.
Use a clean microfiber towel and a product suited to the specific material. Leather benefits from regular gentle cleaning and appropriate conditioning, but excessive product can leave residue and alter the intended sheen. Suede needs a lighter touch and should be kept dry. Gloss trim and carbon fiber should be wiped carefully to avoid fine scratches.
Heat and sunlight remain the main enemies of most interiors. A sunshade, covered parking, and reasonable cabin temperatures reduce fading, drying, and coating breakdown. High-contact areas also benefit from routine cleaning, since skin oils and hand lotions gradually affect steering wheels, shifters, armrests, and door pulls.
A restored interior should feel right before it even looks perfect in photos. The leather should have the correct grip, the trim should sit flush, and the color and sheen should belong with the rest of the cabin. When those details are handled correctly, getting back into your vehicle feels like getting it back at its best.