
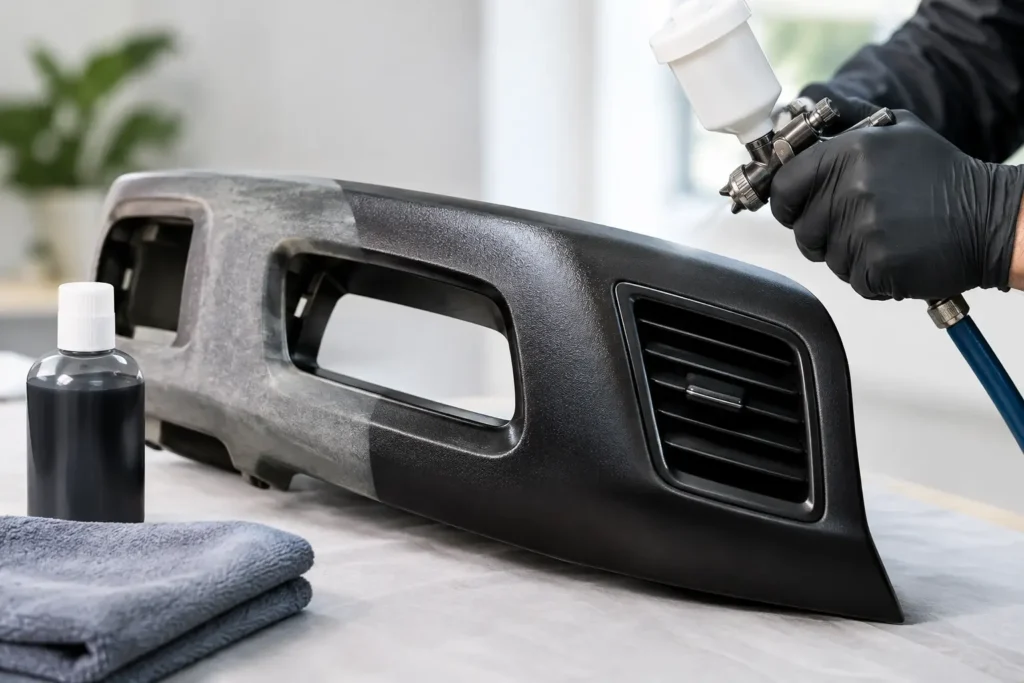
A faded door pull, chalky console, or scuffed dash trim can make a clean vehicle interior feel neglected in seconds. Interior plastic dyeing is one of the most effective ways to correct that wear without replacing hard-to-find original components or settling for mismatched used parts. Done correctly, it restores consistent color and sheen while preserving the texture and character that belong in the vehicle.
For a late-model daily driver, that may mean refreshing a worn black center console. For a collector car, it can mean returning sun-faded interior trim to its proper factory appearance. For a custom build, dyeing opens the door to a coordinated interior color change that looks intentional rather than pieced together.
What Interior Plastic Dyeing Actually Does
The term “dyeing” is commonly used for coloring plastic interior parts, but the process is more precise than simply spraying paint over a surface. Professional interior coatings are formulated to bond to properly prepared plastics and flexible interior substrates. The goal is a finish that follows the part’s original grain, flexes where the material flexes, and wears naturally under normal use.
That distinction matters. Ordinary paint may look acceptable when it first leaves the garage, then scratch at the first contact with a key, peel around a cup holder, or become glossy in one area and dull in another. A quality interior refinishing process accounts for the plastic type, existing finish, contamination, texture, and the exact level of gloss required.
Many interior pieces are not meant to be high gloss. Dash panels, pillars, consoles, switch surrounds, seat-back shells, and door trim often have a low-sheen factory finish. Matching that sheen is every bit as important as matching the color. A black part that is too shiny can look as wrong as a part that is several shades lighter than the rest of the cabin.
Which Interior Parts Can Be Restored?
Interior plastic dyeing works well on many rigid and semi-flexible components, provided the part is structurally sound. Common candidates include dash trim, door panels, console components, armrests, kick panels, glove box doors, seat plastics, pillar trim, speaker grilles, switch bezels, and trim around shifters and e-brakes.
It is especially valuable when replacement parts are discontinued, available only in the wrong color, or expensive enough that restoration makes better financial sense. Classic and luxury vehicles often fall into this category. Original trim has the correct fit, grain pattern, mounting points, and proportions. Restoring it protects authenticity in a way that a generic replacement rarely can.
Deep gouges, broken mounting tabs, warped panels, and plastic that has become brittle require more than color work. Those defects may need repair before refinishing, and some pieces are simply too damaged to guarantee a long-lasting result. A professional evaluation should be honest about that difference. A beautiful finish cannot correct a part that is failing underneath.
The Preparation Determines the Finish
Most coating failures begin before the color is applied. Interior plastics collect silicone-based dressings, skin oils, cleaning residue, airborne contaminants, and years of embedded grime. Even a part that looks clean can reject a new finish if it has not been thoroughly cleaned and prepared.
The process begins with careful inspection and cleaning. Old residue must be removed without damaging the grain or softening the plastic. Areas with scratches, chips, or prior repairs are leveled and repaired as needed. The surface is then prepared to accept the appropriate adhesion system and color coating.
Texture deserves special attention. Heavy sanding can erase factory grain, while rushed repair work can leave visibly smooth patches in the middle of a textured panel. On premium interiors, those inconsistencies stand out immediately. The best restoration work keeps repairs controlled, maintains the natural surface pattern, and avoids coating so heavily that fine grain becomes filled in.
Masking is equally important on assembled pieces. Chrome accents, soft-touch inserts, emblems, switch openings, and wood or carbon fiber sections need clean edges. A professional result should look like the part was manufactured in its new color, not like it was sprayed around the details.
Color Matching Is More Than Choosing Black or Tan
Interior colors vary more than most owners expect. Black can be charcoal, blue-black, brown-black, or warm black. Tan may lean yellow, gray, red, or olive. Age and UV exposure add another variable, because the remaining interior may have shifted from its original shade over time.
For factory restoration, the right target is often the current condition of the surrounding cabin, not necessarily a color code pulled from a decades-old chart. The objective is visual continuity. A newly restored console should not call attention to itself next to the dash, seats, and door panels.
Custom work creates a different decision. A full interior color change can be striking, but it needs a plan. Dyeing only one or two major plastic pieces into a new shade can make the cabin look unfinished if adjacent trim, leather, carpeting, or headliner remain disconnected. Coordinating materials and colors across the interior produces the premium result enthusiasts are after.
Dyeing Versus Replacing Interior Trim
Replacement is the right answer when a component is missing, severely distorted, or beyond reliable repair. It can also be practical when a new OEM part is readily available and reasonably priced. But that is increasingly uncommon for older vehicles, limited-production models, and high-end interiors.
Used replacement trim has its own risks. Its color may be faded differently, its tabs may be weakened, and hidden damage can appear only after installation. Even when the part is technically correct, it may arrive with the same wear problem you were trying to eliminate.
Interior plastic dyeing preserves the original part while correcting cosmetic damage. It can be the more cost-effective choice, but cost should not be the only consideration. The real value is in a finish that matches the vehicle, withstands normal use, and keeps the interior from looking like a collection of replacements from different cars.
Care After Interior Plastic Dyeing
A properly refinished part is made for use, not display. Still, good care extends its life. Use mild interior cleaners and a soft microfiber towel. Avoid aggressive solvents, abrasive pads, and greasy dressings that can alter the intended sheen or leave residue in textured surfaces.
Be realistic about high-contact areas. A console lid, door pull, steering column trim, or seat-side panel sees more friction than a rear pillar cover. Quality preparation and materials make a major difference, but keys, rings, sharp buckles, and repeated hard impacts can damage any finish. If an area is constantly abused, repair or replacement of the underlying component may be the better long-term choice.
Heat is another reason vehicle-specific materials matter. A dashboard and upper-door trim can experience extreme temperatures in direct sun. Interior coatings need to cure correctly and remain stable through the temperature swings, UV exposure, cleaning, and handling that a real vehicle sees.
When Specialist Work Makes Sense
The more visible, rare, textured, or color-sensitive the part is, the less room there is for trial and error. A small hidden trim piece may be a reasonable DIY project for an experienced owner. A dashboard trim set from a classic, exotic, or luxury vehicle is different. A wrong sheen, clogged grain, poor color match, or weak adhesion can reduce the value of the part and create more repair work later.
Craft Customs restores and customizes interior components in-house, including plastic trim, consoles, armrests, dash pieces, and related parts sent in from across the country. The advantage of specialist refinishing is not simply access to color. It is the controlled preparation, material knowledge, texture preservation, color matching, and finish judgment required to make the restored piece belong in the vehicle.
Before sending any part out, photograph it in natural light and note the damage, vehicle year and model, and whether the goal is factory-correct restoration or a custom color. That information helps establish the right finish from the beginning. When the part returns, the best result is not one that looks freshly coated. It is one that makes the rest of the interior look like it needs to catch up.