
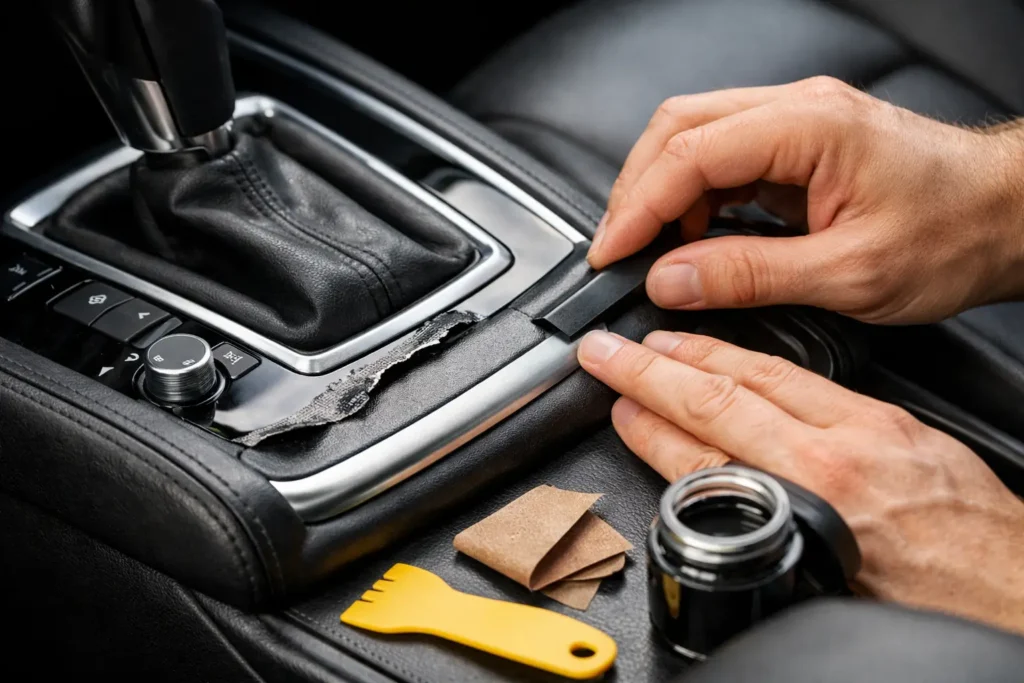
A peeling center console can make an otherwise clean interior feel worn out every time you reach for the shifter, cup holder, or drive-mode switch. Learning how to fix peeling center console trim starts with one critical decision: determine whether the part needs a small cosmetic repair or a complete refinish. Covering loose material with paint or adhesive may look acceptable for a week, but it rarely survives the heat, hand contact, cleaners, and abrasion a console sees every day.
The right repair depends on what is actually peeling. Many modern consoles use soft-touch coatings, painted plastic, hydrographic woodgrain, metallic-look finishes, vinyl wraps, or clear-coated trim. Each fails differently, and each requires its own preparation process to achieve a finish that looks factory correct and stays that way.
Identify What Is Peeling Before You Repair It
Do not start sanding until you know which layer has failed. On many late-model vehicles, the visible problem is a soft-touch rubberized coating breaking down over a plastic substrate. It may feel sticky around the edges, look cloudy, or peel in thin sheets when rubbed. This material cannot be permanently repaired by touching up the exposed spot. The failing coating has to be removed completely before the console can be refinished.
If the center console has a woodgrain or carbon-fiber appearance, inspect the edges of the pattern closely. A lifted clear coat, a delaminating hydrographic film, and a vinyl wrap have different repair paths. A clear coat may be sanded and refinished if the underlying pattern remains intact. Once the decorative film has lifted or torn, however, the damaged finish normally needs to be stripped and replaced rather than patched.
Painted trim tends to chip or flake around cup holders, storage-lid edges, switch openings, and high-contact corners. That usually points to poor adhesion between the original coating and the plastic, or contamination from interior dressings and cleaners. If paint is lifting beyond one isolated chip, assume the surrounding finish is compromised too.
Remove the Console Without Creating New Damage
A proper repair is almost always easier with the trim removed from the vehicle. Trying to sand and spray a console in place risks damaging adjacent leather, carpeting, switches, chrome accents, and electronics. It also makes it difficult to clean the underside and edges where peeling often begins.
Before removal, disconnect the battery if the console contains electronic shifters, airbags, heated-seat controls, USB modules, or sensitive switch panels. Follow the service procedure for your specific make and model. Use plastic trim tools rather than screwdrivers, and keep screws, clips, and electrical connectors organized as you work.
Take photos before disconnecting anything. Many consoles have similar-looking connectors, hidden fasteners under rubber mats, and clips that release in a particular direction. For rare, luxury, or older vehicles with brittle trim, removal is often the point where professional help saves money. A flawless refinish is not much use if a mounting tab has snapped off during disassembly.
How to Fix Peeling Center Console Trim Step by Step
Once the part is off the vehicle, the repair comes down to preparation. The visible color or finish is only as durable as the surface underneath it.
Strip every unstable layer
Remove all loose, soft, or flaking material. For deteriorated soft-touch coatings, use a controlled combination of appropriate cleaner, plastic-safe stripping method, and light abrasion. Work gradually. Aggressive chemicals can warp plastic, erase molded texture, or weaken bonded sections.
Do not stop when the obvious peeling disappears. Any remaining softened coating can react with the new finish and cause fresh lifting later. The goal is a stable, uniformly prepared substrate, not a surface that simply looks better before paint.
Clean oils, silicone, and residue away
Center consoles collect hand oils, spilled drinks, sunscreen, interior shine products, and adhesive residue. These contaminants create fisheyes, adhesion failures, and uneven color. Clean the part thoroughly with a plastic-safe surface cleaner, then handle it with clean gloves whenever possible.
This step is especially important on cup-holder surrounds and shift bezels. A console may look dry while still carrying enough silicone or oil to ruin a coating application.
Repair scratches and damaged edges
Deep scratches, gouges, cracked mounting points, and missing material should be repaired before primer. Use a repair material designed for automotive plastics and shape it carefully after curing. A generic household filler can become brittle, shrink, or separate when the interior heats up.
Texture matters here. Some consoles are smooth, while others have molded grain that needs to be replicated. A perfectly flat repair in the middle of a textured panel can be just as noticeable as the original peeling.
Use an adhesion promoter and flexible coating system
Bare plastic requires more than ordinary paint. A professional-grade process commonly includes an adhesion promoter formulated for the specific plastic, a compatible primer where needed, color coating, and a durable protective clear coat or specialty topcoat.
The materials need to remain flexible enough for a part that expands in summer heat, cools overnight, and flexes when installed. This is why hardware-store spray paint is a poor long-term choice. It may cover the damage quickly, but it often chips, scratches, or reacts with interior cleaners.
Apply light, even coats and allow proper flash and cure time between stages. Heavy coats can trap solvent, create runs, soften the finish, and make the surface more vulnerable to future damage.
Choose a Finish That Fits the Vehicle
A faithful factory restoration is not the only option. Once peeling trim has been stripped and stabilized, it can be refinished in a factory-matched color, a satin black, a metallic tone, gloss piano black, a woodgrain effect, a carbon-fiber conversion, or a custom color coordinated with the steering wheel, seats, or dash.
The trade-off is practical as well as visual. High-gloss black looks dramatic and modern, but it shows fingerprints and fine scratches more readily than satin or matte finishes. A premium woodgrain can elevate a luxury or classic interior, but its tone and gloss level should match surrounding trim. Carbon fiber can suit a performance build, though a poorly matched pattern can look out of place next to factory materials.
For vehicles with an original wood veneer, real wood restoration may be more appropriate than applying a simulated finish. Preserving authenticity usually matters more on collector cars, while a customized finish can make more sense for a modern daily driver or a complete interior build.
When a DIY Repair Is Worth Trying
A careful DIY repair can be reasonable when the console is common, inexpensive to replace, easy to remove, and made from simple smooth plastic. It is also a practical route for a small paint chip when the surrounding factory finish is fully stable.
DIY becomes less attractive when the coating is peeling across a large area, the part has woodgrain or carbon-fiber detailing, the console includes complex electronics, or the vehicle is a classic, exotic, or high-value model. Matching sheen is often harder than matching color. A console that is technically the right shade but too glossy, too flat, or too textured will still stand out against the dashboard and door panels.
Replacement is another option, but it is not always the best one. New OEM trim may be discontinued, costly, or supplied in a finish that does not match sun-faded surrounding pieces. Used parts often carry the same age-related failure, especially on vehicles known for soft-touch coating problems.
Professional Refinishing Delivers a More Durable Result
A specialist refinishing service is built around the details that determine whether a repaired console looks temporary or factory new: stripping failed coatings without damaging the substrate, repairing imperfections, controlling texture and gloss, and applying materials intended for automotive interiors.
Craft Customs restores and customizes original interior components in-house, including center consoles, dash trim, armrests, shifters, and related pieces. Sending in the original part also preserves proper fitment, switch openings, mounting locations, and vehicle-specific details that are easy to lose with aftermarket replacements.
Before shipping a part, photograph all sides and note any broken tabs, cracks, missing inserts, or trim pieces that will remain with the vehicle. Remove loose electronics when practical, package delicate edges carefully, and be clear about whether the goal is factory-correct restoration or a custom finish. Good communication at this stage prevents surprises and produces a finish that belongs with the rest of the interior.
A center console is a touchpoint, not background trim. Repair it with the right materials and preparation, and every drive will feel more finished before you even turn the key.