
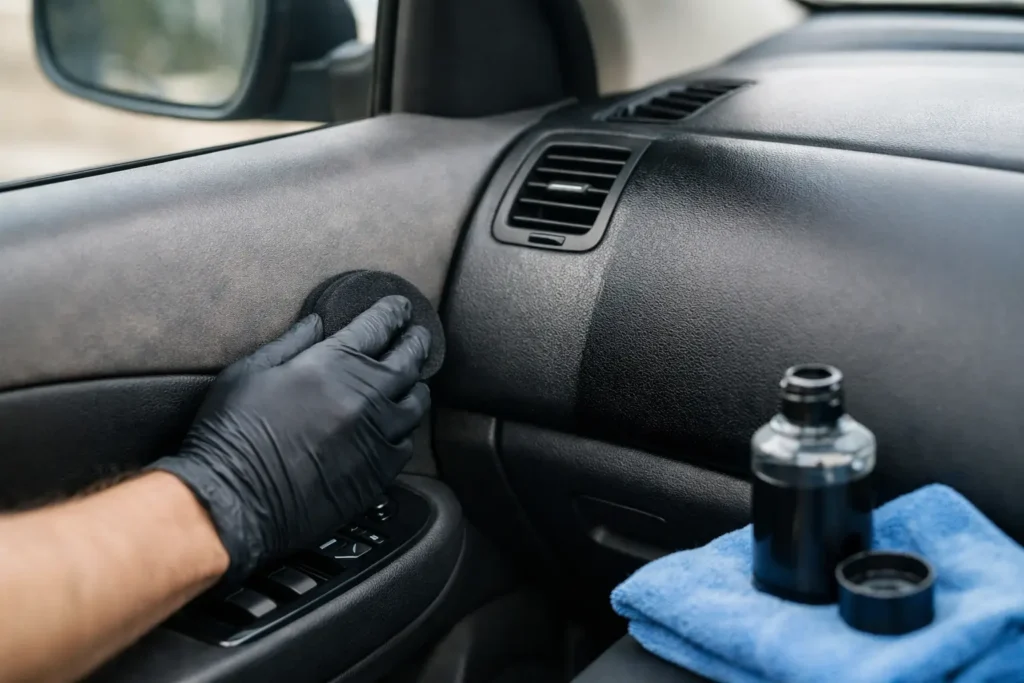
A faded door panel, center console, dash trim, or rear quarter panel can make an otherwise well-kept vehicle feel tired the moment you open the door. Sun exposure, skin oils, cleaners, heat, and years of use all pull color and sheen from interior materials. To repair faded interior panels correctly, the goal is not simply to make the part darker again. It is to restore an even, durable finish that matches the surrounding interior in color, texture, and gloss.
A quick wipe-on dressing may create temporary contrast, but it does not repair the finish beneath it. Proper restoration starts by identifying what the panel is made from and why it faded in the first place.
Why Interior Panels Fade and Change Color
Most interior panels are molded plastic, vinyl, painted hard trim, leather-wrapped pieces, woodgrain, or a combination of several materials. Each one ages differently. A black panel can turn gray or chalky from ultraviolet exposure. Tan, gray, red, and blue panels often lose pigment unevenly, especially along upper door sections, consoles, and dash pieces that receive direct sunlight.
Heat is a major factor. It dries plasticizers in vinyl and soft-touch coatings, leaving the surface dull, brittle, or blotchy. Body oils, hand lotion, sunscreen, and harsh interior cleaners can also strip protective layers or leave shiny patches where the finish has been rubbed smooth. On older vehicles, fading may be compounded by cracks, scratches, peeling coatings, or previous repair attempts made with the wrong product.
The repair method depends on the condition of the panel. A panel that is only dry and lightly discolored may need cleaning and refinishing. A panel with peeling soft-touch material, deep gouges, or heat distortion needs more extensive restoration before color can be applied.
Repair Faded Interior Panels With the Right Process
A quality repair is built on preparation. Colorant will only perform as well as the surface underneath it. Skipping cleaning, using a generic spray paint, or applying a heavy coat to hide flaws may look acceptable for a week, then chip, peel, or develop an obvious mismatch.
Start With a Real Condition Check
Remove the panel when practical. Working with the part off the vehicle gives better access to edges, mounting areas, seams, and textured contours. It also keeps overspray and repair residue away from glass, leather, carpeting, and electronics.
Inspect the panel under bright, neutral lighting. Look for more than color loss. Note scratches, scuffs, cracks around mounting points, worn grain texture, sticky coatings, and glossy areas caused by abrasion. If the surface feels greasy, silicone-contaminated, or slick from dressings, it must be thoroughly cleaned before any restoration work begins.
Some issues are not cosmetic. If mounting tabs are broken, the plastic is warped, or the panel has separated from its backing, those repairs should be addressed before refinishing. A beautiful finish cannot compensate for a loose console lid or a door panel that does not fit correctly.
Clean Away Contamination
Interior surfaces collect contaminants that are not always visible. Detailing products, interior protectants, wax transfer, smoke residue, and skin oils can all interfere with adhesion. A professional cleaning process uses material-safe cleaners and repeated wiping until the surface is free of residue.
This step is especially important on steering wheel trim, armrests, shifter surrounds, and door pull areas. These are high-contact components, and they are often the first places where a rushed repair fails. The surface must be clean without being soaked or damaged by overly aggressive chemicals.
Repair Damage Before Refinishing
Minor scratches and scuffs may be leveled without changing the original texture. Deeper damage can require flexible repair compounds, careful sanding, and grain restoration to blend the repair into the panel. On textured vinyl or plastic, preserving the factory grain is critical. A smooth repaired patch in the middle of a textured door panel will remain visible even when the color is perfect.
Peeling soft-touch coatings require a different approach. The failed coating needs to be removed and the underlying substrate properly prepared. Painting over loose or deteriorated coating traps the problem beneath the new finish and usually leads to more peeling.
Match More Than the Color
Interior color matching is not as simple as selecting “black” or “tan.” Factory interiors use countless variations of gray, charcoal, parchment, saddle, cashmere, ivory, and beige. Even two parts with the same factory color code can age differently based on their location in the vehicle.
The finish level matters just as much. A panel may need a low-gloss, satin, matte, or textured appearance. Too much gloss can make a restored panel look freshly painted rather than factory correct. Too little sheen can make it appear dry next to original trim.
Professional color matching accounts for the vehicle’s existing interior, not just the original catalog color. This is particularly valuable on classic, luxury, and collector vehicles where replacement trim is unavailable or where one faded part stands out against an otherwise preserved cabin.
Apply Flexible, Interior-Specific Coatings
Interior colorants and coatings need to flex with vinyl and plastic, resist normal handling, and cure to the correct sheen. Generic hardware-store paint is rarely the right answer. It can fill grain texture, feel hard to the touch, crack on flexible parts, or release strong odors inside a closed vehicle.
Thin, controlled coats provide the best result. The finish should build gradually, allowing coverage without burying the panel’s natural contours. Proper cure time is equally important. A freshly refinished armrest or console should not be reinstalled and immediately subjected to daily use before the coating has stabilized.
When a DIY Repair Makes Sense
A careful DIY repair can be reasonable for a small, inexpensive trim piece with mild fading and no structural damage. If the part is readily available, you may be comfortable learning on it. The best candidates are simple hard-plastic panels that can be removed easily and have a uniform color and low-contact location.
The trade-off is color accuracy and durability. A repair can be technically clean yet still look wrong if the gloss level does not match the dash, door panels, or adjacent trim. DIY refinishing also becomes difficult when a component has complex texture, woodgrain, carbon fiber, metallic accents, leather wrapping, or a soft-touch surface.
Avoid treating dressings as a permanent repair. They can temporarily darken faded plastic, but their appearance changes as they wear away. Some also leave residue that complicates future refinishing.
When Professional Restoration Is the Better Investment
Professional refinishing is usually the better route for rare, expensive, highly visible, or high-contact interior components. Think dash trim, center consoles, door panels, steering wheel spokes, armrests, shifter trim, and classic woodgrain pieces. These parts affect the entire cabin’s appearance, and a poor repair is hard to ignore.
A specialist can restore the damage, match the surrounding material, and control the final texture and sheen. For owners restoring a classic or preserving a luxury vehicle, that level of accuracy protects both the look and perceived value of the vehicle.
Craft Customs restores and custom-refinishes interior components in-house, including faded trim, consoles, steering wheel parts, and related panels from virtually any make or model. Sending in the original part also means the repair can be tailored to the exact material and finish rather than forcing a universal solution onto a unique component.
Keep Restored Panels Looking Factory Fresh
Once the finish is restored, prevention is straightforward but worthwhile. Use a sunshade whenever the vehicle sits outdoors, especially in hot climates. Clean panels with a mild interior cleaner and a soft microfiber towel rather than harsh degreasers, abrasive pads, or solvent-heavy products.
Avoid loading panels with glossy dressings. If a protectant is used, choose one appropriate for the material and desired sheen, then apply it lightly. High-touch areas should be cleaned regularly so oils and sunscreen do not build up on the finish.
The best restoration does more than hide fading. It makes the repaired component belong in the vehicle again, with the right color, feel, and factory-level finish every time you get behind the wheel.