
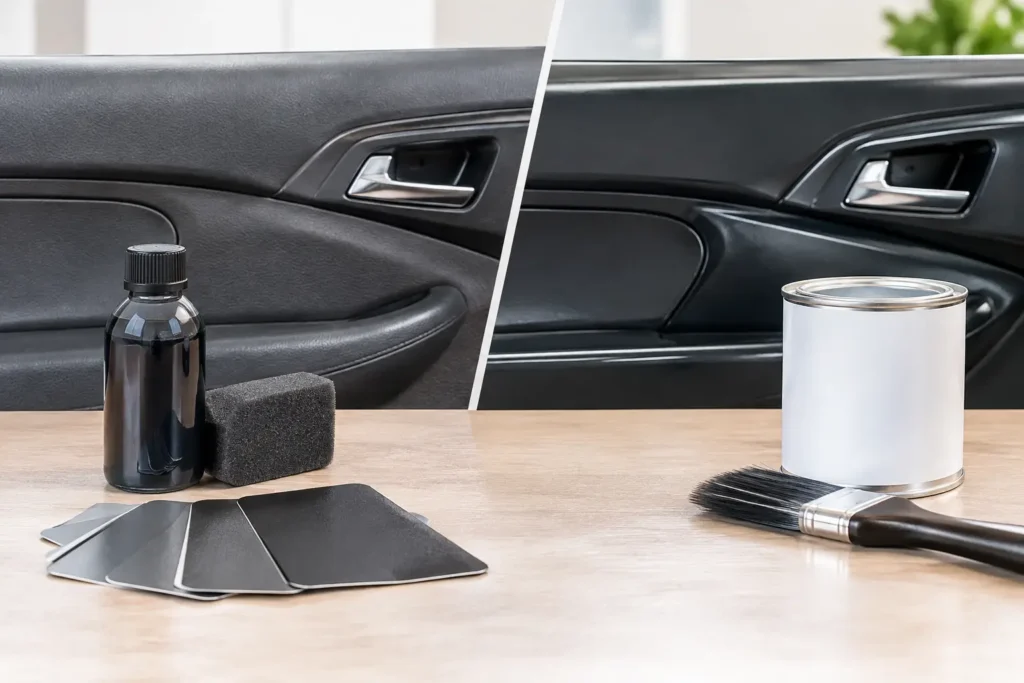
A faded door panel and a scratched hard-plastic console may look like the same problem from the driver’s seat. They are not. Choosing between vinyl dye versus trim paint determines whether an interior finish looks factory-correct for years or starts cracking, rubbing off, or feeling wrong after a season of use.
The right answer begins with the substrate, not the color. Automotive interiors combine flexible vinyl, coated leather, rigid ABS plastic, textured polypropylene, woodgrain, soft-touch coatings, and more – often within one small area. Each material moves, wears, and accepts coatings differently. A professional restoration has to account for all of it.
Vinyl Dye Versus Trim Paint: The Core Difference
Vinyl dye is formulated for flexible interior surfaces such as vinyl, plastic-coated trim, and certain leather applications when paired with the correct preparation and adhesion system. Despite the name, modern automotive vinyl dye is generally a color coating rather than a simple penetrating stain. Its advantage is flexibility. It is designed to move with the surface instead of forming a brittle shell over it.
Trim paint is typically intended for rigid or semi-rigid interior pieces. It creates a controlled, even color layer on parts such as console panels, dash bezels, hard plastic trim, speaker grilles, pillar trim, and molded switch surrounds. Depending on the system, it can be matched in gloss, texture, and durability to the original finish.
Neither product is automatically better. Vinyl dye is not the right choice for every flexible part, and trim paint is not the right choice for every plastic component. The quality of the prep work, coating system, and curing process matters just as much as the label on the can.
Start With the Part, Not the Finish
A steering wheel, for example, may include leather, molded urethane, plastic switch bezels, chrome accents, and stitched seams. Treating the entire assembly with one product is a shortcut, not a restoration method. The same is true of a door panel, which can combine flexible vinyl, rigid plastic, fabric inserts, and painted trim.
Flexible vinyl requires a finish that can tolerate compression, temperature changes, arm contact, and repeated cleaning. If a rigid coating is applied too heavily, it can crack along high-flex areas or wear through at edges. On the other hand, a low-build flexible coating may not produce the right appearance on a smooth hard-plastic console trim piece that originally had a more uniform painted finish.
Texture also matters. A heavily grained vinyl panel needs color without filling the grain. A satin-black center console needs an even sheen that does not look blotchy under direct sunlight. A restored part should match the surrounding interior, not simply look freshly sprayed.
When Vinyl Dye Is the Better Choice
Vinyl dye is generally the better route when the part is flexible and its original grain needs to remain visible. Door panels, vinyl armrests, dash pads, seat backs, interior quarter panels, and certain soft-touch components are common candidates. It can also be used in carefully controlled leather recoloring work, though leather requires its own cleaning, repair, and coating process.
The finish should remain thin and flexible. That means the surface must be deeply cleaned before any color is applied. Interior vinyl collects body oils, silicone dressings, sunscreen residue, smoke film, detailing products, and embedded grime. These contaminants are a major reason do-it-yourself dye jobs fail.
Proper preparation may include cleaning, decontamination, light abrasion where appropriate, repair of cracks or gouges, adhesion-promoting products, and several controlled color coats. The goal is not to bury the part under material. The goal is to restore a consistent color and finish while preserving the character of the original surface.
Vinyl dye is especially useful when a faded tan, gray, red, or black interior needs to return to its factory tone. It also gives custom-build owners a path to change an interior color without replacing every panel, provided the material condition and desired finish support the work.
When Trim Paint Is the Better Choice
Trim paint is usually better suited to hard interior components that need a refined, stable, painted appearance. Think dash trim, center-console pieces, plastic bezels, door-handle surrounds, seat trim, console lids with rigid substrates, and decorative panels.
This is where sheen control becomes critical. A high-gloss black finish on a part that should be satin will look customized in the wrong way. A matte coating on a luxury trim panel can make it appear chalky or unfinished. Factory interiors commonly use subtle variations in gloss to separate materials and reduce glare, so color matching alone is not enough.
Hard trim pieces also tend to show scratches, scuffs, and worn edges. Painting over damage without repairing it only makes the flaws more visible. Proper refinishing involves leveling scratches, addressing chips, correcting peeling factory coatings, preparing the plastic for adhesion, and applying a finish that suits the part’s use and location.
For custom work, trim paint can create clean transformations that are difficult to achieve with replacement parts. Piano black, color-matched body-color accents, satin metallics, and coordinated console finishes all require precise prep and controlled application to avoid a cheap, overly thick appearance.
The Durability Question Most Owners Miss
Owners often ask which finish lasts longer. The more accurate question is: which finish is correct for this specific part and how was it applied?
A properly prepared flexible vinyl coating can hold up extremely well on a door panel or dash pad. The wrong paint on that same panel may crack. A professionally applied trim coating can endure years on a console bezel, while dye used where a rigid painted finish is required may not provide the intended appearance or abrasion resistance.
Wear zones deserve additional attention. Steering wheels, shift surrounds, armrests, door pulls, console lids, and seat bolsters experience constant contact. These parts are exposed to friction, skin oils, rings, hand lotion, cleaners, heat, and ultraviolet light. They need a coating system designed around real use, not just a convincing result on delivery day.
Curing is part of durability as well. A part can look dry quickly but still need time for the finish to fully stabilize. Handling or reinstalling it too soon can mark the surface, especially on fresh satin or soft-touch finishes.
Why Color Match Requires More Than a Color Code
A factory color code is a starting point, not a guarantee. Age, sun exposure, prior repairs, leather conditioning products, and variations between interior materials can all change how a color appears. The same named black may read warm, cool, blue-black, charcoal, or brown-black depending on its gloss level and surrounding trim.
A correct restoration evaluates the actual part and, when possible, the adjacent interior pieces. The best result is one that disappears into the cabin. You should not be able to identify the restored panel because its sheen is too glossy, its grain is filled, or its color is slightly off in daylight.
This is particularly important in classic vehicles and luxury interiors, where replacement parts may be unavailable, discontinued, or visually mismatched. A careful refinishing process preserves the original component while correcting the damage that makes the cabin feel tired.
Avoid the Common Shortcuts
Spraying an all-purpose product over a panel without removing silicone-based dressing is one of the fastest paths to peeling. Another common mistake is applying heavy coats to cover stains or scratches. Heavy coats obscure texture, create runs around edges, and can leave the part feeling coated rather than original.
Poor masking also creates problems. Overspray on switches, vents, stitching, chrome, or textured adjacent surfaces can make an otherwise good repair look careless. Disassembly takes more time, but it is often the difference between a color change and a convincing restoration.
Finally, do not assume every peeling surface can simply be recoated. Some factory soft-touch finishes fail because the underlying material is breaking down. Those parts may need complete stripping, surface correction, and a new finish system before any color is applied.
Choosing the Right Finish for Your Interior
If the part flexes, has deep grain, or is made from vinyl-like material, a flexible dye-based coating system is often the appropriate direction. If it is rigid trim that originally carried a painted or molded finish, trim paint is usually the better fit. In either case, the finish must match the part’s texture, gloss, color, and daily wear demands.
For rare, high-value, or heavily worn pieces, professional assessment prevents expensive trial and error. Craft Customs restores and custom-finishes interior components in-house, using the material-specific approach needed to make original parts look at home in the vehicle again.
The best finish is the one you stop noticing after installation – because the dash, console, steering wheel, or door panel finally looks like it was never damaged in the first place.