
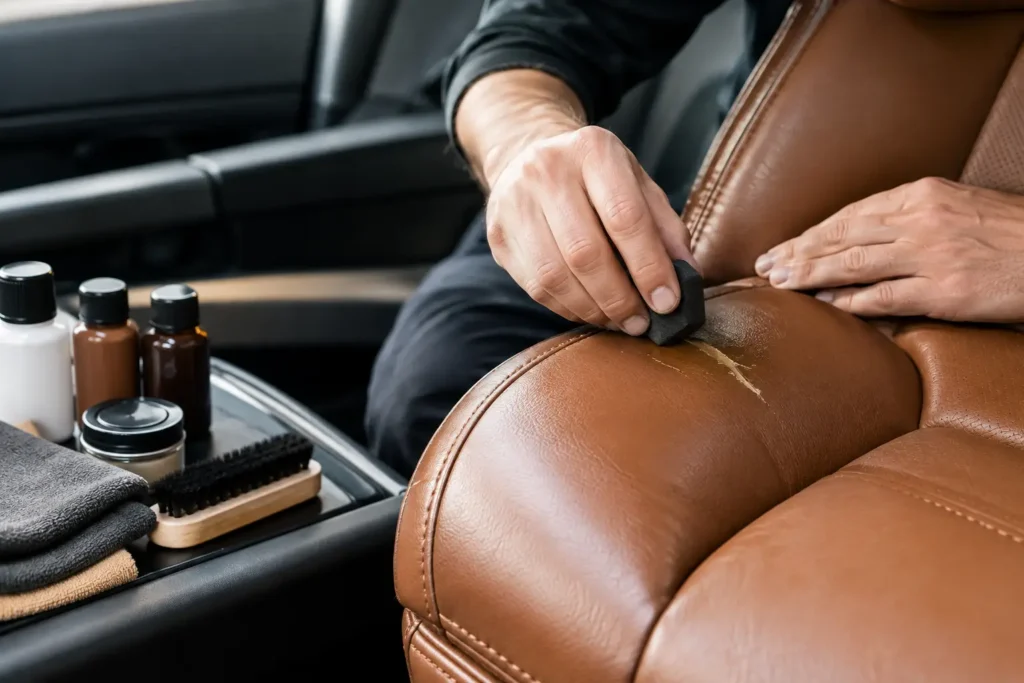
A steering wheel can be mechanically perfect and still make a vehicle feel tired the moment you touch it. Glossy leather, worn-through bolsters, cracked armrests, and faded console lids are not just cosmetic issues. They change the feel, perceived value, and originality of the interior. This automotive leather repair guide explains what can be repaired, what requires reupholstery, and how to avoid turning manageable wear into permanent damage.
Start With an Honest Damage Assessment
Leather repair starts with identifying the material and the failure, not reaching for a cleaner or dye. Many automotive seating surfaces are coated leather, while steering wheels may use a different leather grade with a heavy protective topcoat. Some trim that looks like leather is vinyl, synthetic leather, or soft-touch coated plastic. Each requires a different repair method and product system.
Light surface wear is the easiest category. This includes flattened color, minor scuffs, dullness, light scratches, and accumulated oils. The leather structure is still sound, but the factory finish has worn or become contaminated. Proper cleaning and controlled refinishing can often return these areas to a close-to-original appearance.
Cracking requires more caution. Small finish cracks may be repairable if the leather beneath remains flexible. Deep cracks, splits, missing material, loose seams, or leather that has become hard and brittle are different problems. Filling deep damage may improve the appearance temporarily, but it cannot restore lost leather strength. On a high-contact component such as a steering wheel, armrest, or driver-seat bolster, rewrapping or reupholstery is usually the more durable answer.
Before any work begins, inspect the damage in natural light. Look for color transfer, peeling coating, loose stitching, exposed foam, and hard edges around cracks. Take note of where the wear is located. A small defect on a rear seat has different demands than damage on the outer driver bolster or a steering wheel rim that is handled every day.
Cleaning Is Repair Preparation, Not a Repair
The wrong cleaner can cause as much trouble as the original wear. Household degreasers, harsh solvents, abrasive pads, and heavy silicone dressings can strip protective coatings, dry the surface, or leave residue that prevents new color from bonding correctly.
For routine maintenance, use a leather-safe cleaner with a soft brush or microfiber towel. Work in small areas, avoid soaking seams, and wipe away the loosened soil promptly. The goal is to remove body oils, sunscreen, denim dye, and embedded grime without saturating the leather or aggressively scrubbing its finish.
Steering wheels deserve special attention because they collect skin oil, lotion, hand sanitizer residue, and grime. That contamination creates the slick, shiny appearance often mistaken for naturally glossy leather. On many factory wheels, shine is a sign that the matte protective finish has been compromised. Cleaning can improve it, but it will not correct a worn-through coating or damaged grain.
Conditioner has a place, but it is frequently overused. Modern coated automotive leather does not absorb conditioner the way unfinished furniture leather does. Applying too much can leave the surface greasy and attract more dirt. If the leather is structurally dry or stiff, use a product designed for automotive leather sparingly after cleaning. Never apply conditioner before a color repair, because adhesion depends on a clean, properly prepared surface.
Automotive Leather Repair Guide: Match the Method to the Damage
A repair that looks good on day one must also survive heat, friction, flexing, and regular cleaning. The correct method depends on the condition of the leather and the location of the damage.
For minor scuffs and color wear, the process generally involves cleaning, removing contamination, smoothing only the damaged finish, applying a color-matched coating in thin layers, and protecting the repair with the correct topcoat sheen. Thin, controlled coats matter. Heavy color application can fill the natural grain, create an unnatural texture, or crack prematurely when the leather flexes.
Surface cracks often need flexible filler before refinishing. The filler must be applied only where needed, leveled carefully, and allowed to cure fully. Aggressive sanding can erase the surrounding grain and leave a repair more visible than the original crack. On textured leather, recreating the grain is often the difference between a repair that blends in and one that always catches the eye.
Tears and punctures need structural support from the back side whenever access allows. A backing patch and flexible adhesive can stabilize a small tear, followed by filler and color work at the surface. This is a precision repair, especially on perforated leather, heavily grained hides, or contoured seat panels. If the tear crosses a seam or involves stretched, weak leather, replacing the panel is usually the better long-term decision.
Seam failures are not filler repairs. They require stitching with the correct thread, needle technique, seam allowance, and tension. Pulling on weakened leather while restitching can enlarge the damage. In many cases, a professional will remove the cover, reinforce the affected area, and repair or replace the panel before sewing it back together.
Why Steering Wheels Need a Higher Standard
A steering wheel is one of the most demanding leather components in a vehicle. It is constantly flexed, exposed to UV light through the windshield, and handled with oils and moisture from the driver’s hands. It also sits directly in your line of sight, so a poor texture match or incorrect sheen is immediately obvious.
Minor wheel wear can sometimes be refinished, but a wheel with deep cracks, loose leather, flattened padding, damaged thumb grips, or worn stitching should be rewrapped. A proper rewrap involves removing the old covering, repairing the wheel structure and padding as needed, patterning and cutting new material, then hand stitching the new leather with consistent spacing and tension.
Color and finish matter as much as the wrap itself. Factory interiors often use a specific black, charcoal, gray, tan, red, or two-tone shade that can look noticeably wrong if it is merely “close enough.” The same is true of sheen. Most original steering wheels are low-gloss or satin, not shiny. A correct finish should feel natural in the hand and look appropriate next to the seats, dash, and trim.
For classic, luxury, and collector vehicles, preserving details is equally important. Stitch style, perforation pattern, leather thickness, spoke transitions, thumb contours, and original wood or trim inserts all affect authenticity. A universal cover may hide damage, but it rarely delivers the fit, tactile quality, or value of a properly restored original wheel.
When DIY Repair Makes Sense and When It Does Not
DIY repair can be reasonable for a small scuff on a daily driver, especially when expectations are practical rather than concours-level. It can also help prevent light wear from worsening if the surface is cleaned and protected early. The trade-off is that automotive leather refinishing is less forgiving than it appears in online videos. Color matching, prep, texture recreation, and topcoat selection require patience and experience.
Professional restoration is generally the better choice when the part is rare, valuable, safety-related, heavily worn, or difficult to replace. It is also worth considering when the damage is on a steering wheel, high-end seat, dash, center console, armrest, shifter, or e-brake handle. These parts receive constant contact, and an incorrect repair can peel, feel sticky, or make the interior look patchy.
If a component can be removed, a send-in restoration gives the technician access to the entire part rather than forcing a repair inside the vehicle. That allows for better cleaning, masking, dyeing, stitching, curing, and quality control. Craft Customs restores and customizes original interior parts in-house, which is particularly useful when a vehicle needs factory-correct restoration or a coordinated custom update across multiple components.
Protect the Repair After the Work Is Done
The best repair is one that is not asked to fight the same damage again next month. Keep leather out of prolonged direct sun when possible, use a windshield shade during long parking periods, and clean high-contact surfaces regularly before oils build up. Avoid harsh cleaners and shiny dressings, especially on steering wheels and matte-finish leather.
Be careful with clothing as well. Dark denim can transfer dye to light leather, while metal rivets, belt buckles, and tools can scratch bolsters and consoles. If you notice new wear, address it early. A small scuff may need only cleaning and refinishing; waiting until the coating fails and the leather cracks creates a more involved repair.
A well-restored interior should not look freshly painted or artificially glossy. It should look right for the vehicle, feel right in your hands, and make every mile feel more considered. That standard is worth protecting.