
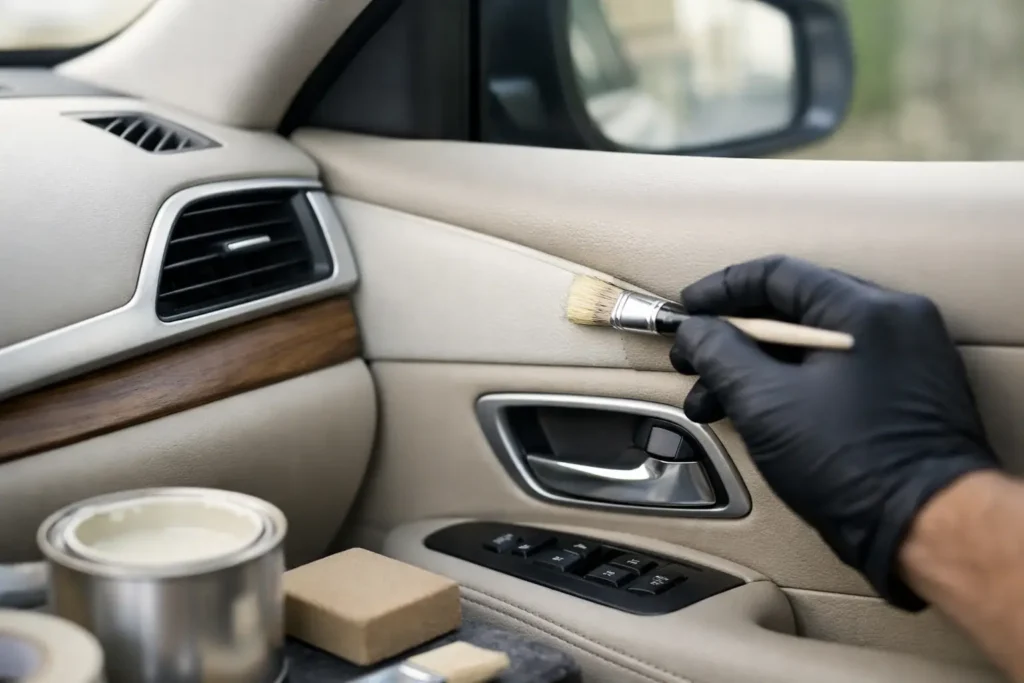
A steering wheel can be freshly reupholstered in premium leather and still look wrong if the adjacent trim is faded gray, overly glossy black, or a few shades off from the original cabin finish. That is where interior trim paint matching makes the difference between a repair that stands out and a restoration that looks like it belongs.
Automotive interior paint matching is not simply finding a similar color and spraying it onto plastic. Factory interiors use different materials, textures, gloss levels, and coatings across the dash, console, door panels, steering wheel trim, and pillar pieces. A good match has to account for all of them. The goal is a finish that looks correct in direct sun, under garage lighting, and from the driver’s seat – while holding up to the heat, hand contact, and daily use that interior parts receive.
Why Interior Trim Paint Matching Is So Difficult
Most worn interior trim does not fail evenly. The top edge of a door panel may be sun-faded, while the lower section still shows its original color. A center console may be scratched near the cupholders but clean around the shifter. Steering wheel trim is often worn smooth from hands, rings, cleaners, and years of UV exposure.
That means the color visible on an aged part may not be its original factory color. Matching the faded surface exactly can make the repaired area blend today, but it can also leave the whole interior looking tired. Restoring the trim to the intended factory tone can be the better choice, particularly when multiple pieces are being refinished at the same time.
Color is only one part of the equation. Sheen is often what exposes a poor repair. A trim piece painted in the correct black can still look completely out of place if it is too glossy beside a low-luster dash, or too flat next to satin-finished console panels. Grain texture, metallic content, soft-touch coatings, and surrounding material all affect how the finished part reads.
Match the Finish, Not Just the Paint Color
The right interior trim finish starts with identifying what the part actually is. Rigid ABS plastic, polypropylene, vinyl-coated panels, woodgrain components, painted metal, and carbon fiber all require different preparation and coating approaches. Treating every surface as ordinary plastic is one of the fastest ways to create adhesion problems or an incorrect appearance.
A factory-style restoration usually aims to preserve the vehicle’s original visual hierarchy. For example, a luxury vehicle may use low-gloss black on steering wheel switch surrounds, satin black on console trim, and a soft-touch finish on dash pieces. A performance build may intentionally move those parts toward gloss black, exposed carbon fiber, or a custom body-color accent. Both approaches can look excellent, but the decision should be deliberate.
Color Matching for Factory Restoration
For an original-style restoration, the best reference is an unfaded protected area of the cabin. Areas behind trim overlaps, beneath a console lid, or under a switch panel can retain a more accurate version of the factory color than a sun-exposed face surface.
Color codes can be useful, but they do not solve every problem. Manufacturers change suppliers, production batches, textures, and materials over a model run. On older, rare, or heavily weathered vehicles, a hands-on comparison is often more reliable than relying only on a catalog description such as “charcoal,” “stone,” or “medium gray.”
A proper test panel helps confirm the result before the final application. This is especially valuable with metallic finishes, warm grays, beige interiors, and colors that shift dramatically between daylight and artificial light. A color that appears perfect under shop lights may show too blue, too green, or too dark when the vehicle is outside.
Paint Matching for Custom Interiors
Custom work creates more freedom, but it still requires discipline. If you are converting woodgrain to carbon fiber, changing chrome-look accents to satin black, or adding a body-color insert to the steering wheel, the new finish must work with the leather, stitching, carpet, and existing controls.
A small accent can carry a bold color well. Painting every interior panel in a high-gloss bright color can make reflections distracting and can age poorly. Satin finishes tend to look more purposeful on high-contact trim, while gloss works best when it is used selectively and prepared to a high standard.
The Preparation Work Determines Durability
Paint does not hide damage. It often makes scratches, cracks, old repairs, and uneven texture more visible. The refinishing process has to begin with careful inspection and cleaning, followed by the right repair work for the material.
Contaminants are a major concern inside a vehicle. Silicone-based dressings, skin oils, armor-type protectants, adhesive residue, and household cleaners can interfere with coating adhesion. A trim piece may look clean but still reject paint if those contaminants have soaked into textured plastic or soft-touch surfaces.
Damaged areas then need to be leveled and repaired without erasing factory grain or changing the part’s shape. Deep gouges, broken mounting points, peeling coatings, and cracked substrate require more than a cosmetic topcoat. The repair has to be stable before color is applied.
After proper surface preparation, the selected coating system must flex and adhere as the part demands. Door pulls, console lids, steering wheel trim, and frequently handled switch surrounds need a finish designed for contact. A coating that looks good on the day it is sprayed but rubs off after a few months is not a restoration.
Common Problems That Make a Match Look Wrong
The most obvious mistake is using a universal paint color without comparing it to the actual interior. “Black” alone is not a specification. Automotive interiors use blue-black, brown-black, charcoal-black, and multiple gloss levels that can look different even when the color difference is small.
Another issue is painting only the visibly damaged spot. Spot repair can work on a small, isolated area, but broad faded surfaces usually need to be refinished as a complete visible panel. Otherwise, the repair may create a clean patch surrounded by aged material.
Texture matters as much as tone. Sanding a textured trim panel smooth and painting it in the right color still produces a mismatch. The same is true when a soft-touch dash coating is replaced with ordinary paint that feels hard or looks overly slick.
Finally, do not judge a match while the part is still wet. Fresh coatings can appear darker, richer, and glossier before they fully cure. A professional process allows the finish to settle and be evaluated under appropriate lighting before the part returns to the vehicle.
When to Refinish One Piece or the Entire Set
It depends on the condition of the surrounding interior and the client’s goal. If one console insert has been scratched by keys while the adjacent trim remains clean and consistent, refinishing the single piece may be appropriate. If the dash, door trim, console, and steering wheel accents all show UV fade or mismatched prior repairs, restoring the visible trim set creates a far more convincing result.
For classic and collector vehicles, maintaining factory-correct color and sheen can protect authenticity and value. For a custom build, consistency across the steering wheel, dash trim, shifter surround, and door accents gives the cabin a finished, intentional look. Mixing one newly painted part with several tired pieces often makes the older wear more noticeable.
At Craft Customs, interior components are refinished in-house with the same attention given to leather reupholstery, woodgrain restoration, carbon fiber conversions, and steering wheel work. Sending the original part allows color, texture, repair needs, and finish level to be evaluated directly instead of guessed from a photo.
Care After Interior Trim Refinishing
Once the finish has cured, gentle care helps preserve the match. Use a clean microfiber towel and interior-safe cleaner rather than harsh degreasers, alcohol-heavy products, or glossy silicone dressings. Avoid abrasive pads on painted trim, especially on high-contact pieces around the steering wheel, console, and door pulls.
Heat and UV exposure remain hard on any automotive interior. Parking in shade when possible, using a windshield sunshade, and keeping the cabin clean will slow future fading and surface wear. These small habits help a properly refinished part continue looking like it belongs in the vehicle rather than like a recent repair.
The best interior trim paint match is the one you stop noticing. It lets the leather, wood, carbon fiber, or factory design speak for itself – and makes every time you open the door feel like the interior received the level of craftsmanship the rest of the vehicle deserves.