
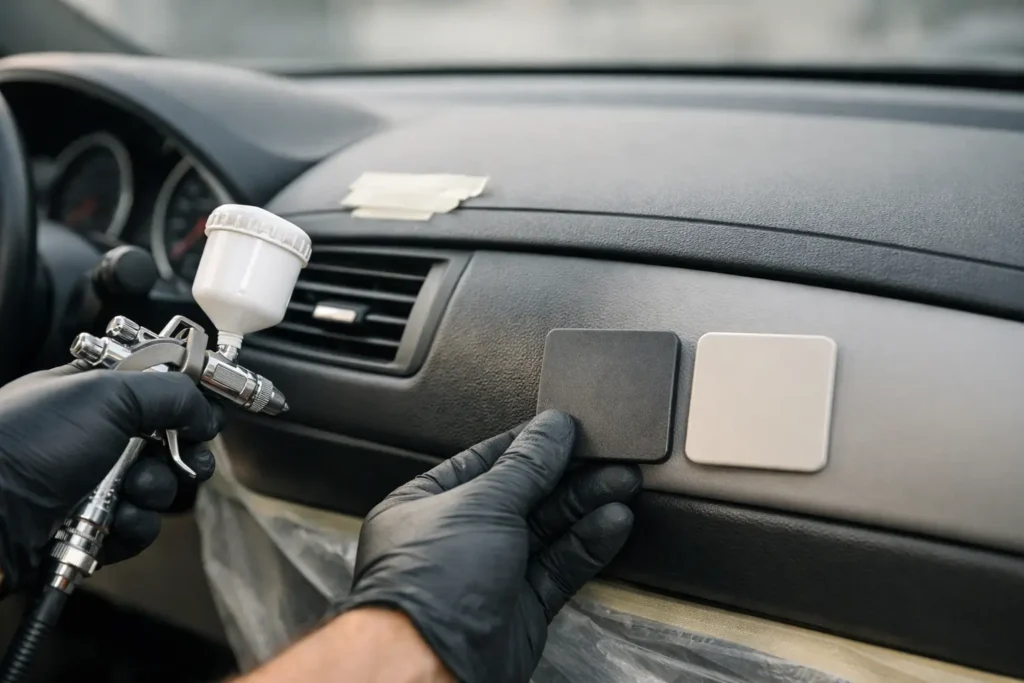
A dashboard can be mechanically sound and still make the entire cabin feel neglected. Sun-faded panels, shiny touch-up spots, scratches around switches, and mismatched replacement trim stand out every time you get behind the wheel. Professional dashboard paint matching corrects those problems by recreating the color, sheen, and surface character that make a repaired or restored part look like it belongs in the vehicle.
That last detail matters. Interior paint is not simply about finding a color that looks close under shop lights. A dashboard finish must work beside the steering wheel, console, door panels, vents, and factory textures in changing light. The right repair preserves the visual value of the interior. The wrong one can make a small damaged area more obvious than the original scratch.
Why Dashboard Paint Matching Is More Complex Than It Looks
Automotive interiors rarely use a simple flat black, gray, tan, or beige. What appears to be black may have a warm brown cast, a cool blue undertone, or a low-gloss finish that changes under sunlight. Tan dashboards can range from sandy and yellow-based to reddish saddle tones. Even panels from the same vehicle may look slightly different after years of UV exposure, cleaning products, and daily use.
Color is only one part of the match. The finish also has to match the original gloss level. A dashboard that is too shiny can reflect harshly in the windshield and immediately look refinished. A finish that is too flat may appear chalky or unfinished next to the surrounding trim. Texture matters as well. Many dashboards have a fine grain, soft-touch coating, metallic effect, or molded pattern that must remain visible after refinishing.
This is why aerosol paint from a general retail shelf is often a disappointing shortcut. It may adhere poorly, fill in texture, dry at the wrong sheen, or look acceptable only until it sits beside the original interior. The result can crack, peel, become tacky in heat, or create a hard-edged color difference that is difficult to ignore.
Start With the Condition of the Part
A durable color match begins with an honest assessment of the dashboard or trim piece. Paint cannot correct a loose substrate, deep gouge, warped plastic, failing factory coating, or active crack by itself. Those defects need to be stabilized and repaired before color work begins.
Surface preparation is where lasting results are won or lost. The part must be thoroughly cleaned to remove silicone-based dressings, body oils, waxes, and residue from prior repairs. Any damaged coating is feathered or removed as needed, and scratches or gouges are repaired without wiping out factory grain. Proper adhesion steps are then chosen for the material, whether the component is rigid plastic, flexible vinyl, coated urethane, or another interior substrate.
A refinished dashboard should not merely look better on delivery day. It should hold its appearance through warm summers, cold winters, normal cleaning, and repeated use. That requires compatible materials and controlled application, not a quick cosmetic cover-up.
Repairing Damage Without Creating a New Problem
A deep scratch near an air vent or glove box can be repaired, but the repair must transition naturally into the surrounding surface. Heavy filler, excessive sanding, or thick coatings can leave a smooth patch in the middle of a textured panel. On a light-colored dash, that area may become more visible as shadows move across it.
Experienced restoration work focuses on retaining the original character of the piece. When texture needs to be recreated, it should blend into the panel rather than announce where the repair was made. The goal is a dashboard that reads as one continuous factory component from the driver’s seat and from outside the vehicle.
How Professionals Create a Reliable Color Match
The best dashboard paint matching process combines visual judgment with controlled testing. A specialist may use an existing color reference, a sample from an adjacent protected area, or a custom-mixed formula based on the vehicle’s original finish. Protected areas are especially useful on older vehicles, where the visible dash has faded but hidden edges retain more of the factory color.
Test spraying is essential. A color can look right when wet and shift slightly as it dries. It can also appear different under fluorescent lighting, natural daylight, and the warmer light inside a garage. Before applying color to a visible component, professionals check both hue and gloss against the interior pieces that will surround it.
For a restoration, the target is typically the factory appearance appropriate to the vehicle and its age. For a custom build, the target may be a deliberate match to new leather, suede, carbon fiber, woodgrain, or painted exterior accents. In either case, consistency across components is what makes the finished cabin feel intentional.
Factory Restoration Versus a Custom Color Change
These are two different jobs, and the prep work should reflect that. Factory restoration is about correcting wear while preserving the original visual language of the cabin. It is usually the best choice for collectors, classic-car owners, luxury vehicles, and anyone protecting resale value. Matching the original grain, color family, and sheen helps maintain authenticity.
A custom color change gives you more freedom, but it also requires a broader plan. Changing only the dashboard from gray to black, for example, may leave the interior looking pieced together if the console, lower panels, door trim, and steering wheel remain gray. Some projects benefit from a focused accent treatment. Others need several related components refinished or reupholstered to achieve a complete result.
There are trade-offs. A dramatic custom finish can make a vehicle feel current and personal, while an OEM-correct restoration may appeal to a wider range of future buyers. The right decision depends on whether the vehicle is being preserved, shown, driven daily, or built around a specific interior vision.
When Removal Is Worth the Extra Effort
Many dashboard and trim repairs look better when the component can be removed and refinished outside the vehicle. Removal allows for more complete cleaning, access to edges and recessed areas, and better control over overspray. It also prevents paint from reaching vents, switches, screens, chrome accents, or glass.
Not every job requires complete dash removal. Small removable trim panels, consoles, bezels, glove box doors, and lower dash pieces are often excellent candidates for send-in refinishing. For larger dash assemblies, the vehicle’s construction, the location of the damage, and the desired finish determine whether removal makes practical sense.
If a part is being shipped for restoration, clear photos in daylight help establish the condition and color direction before work begins. Sending related small trim pieces or a color sample can also help when the goal is to match a cabin that has aged unevenly. Craft Customs handles this type of in-house component refinishing for owners who want specialist preparation and a finish built around the actual part, not a generic color name.
Protecting the Refinished Dashboard
Once the finish has cured, maintenance should be simple and careful. Use a clean microfiber towel and a mild interior cleaner suitable for the material. Avoid aggressive solvents, abrasive pads, and glossy dressings that can alter the intended sheen or leave residue in the texture.
Sun exposure remains the biggest long-term threat to most interiors. A quality windshield sunshade, covered parking when possible, and regular gentle cleaning can significantly reduce fading and heat stress. These habits will not stop aging entirely, but they can keep a matched finish looking consistent for far longer.
Be cautious with products marketed as quick shine restorers. A dashboard should not need an oily coating to look good. If a refinished surface has been properly prepared and colored, its appearance should come from the finish itself: even color, correct texture, and a sheen that looks right from every seat in the cabin.
Signs It Is Time to Refinish Rather Than Touch Up
A small isolated scuff can sometimes be addressed with a localized repair. Refinishing becomes the better option when fading is widespread, prior touch-ups are visibly mismatched, the factory coating is peeling, or several neighboring pieces no longer share the same color and gloss.
It is also worth refinishing when the dashboard is the last visibly worn piece in an otherwise restored interior. New leather on the steering wheel and seats can make tired dash trim look even more dated by comparison. Bringing those components into the same visual standard changes how the entire vehicle feels.
A properly matched dashboard does more than hide damage. It restores the quiet visual consistency that makes a well-kept interior feel original, valuable, and genuinely enjoyable to drive.