
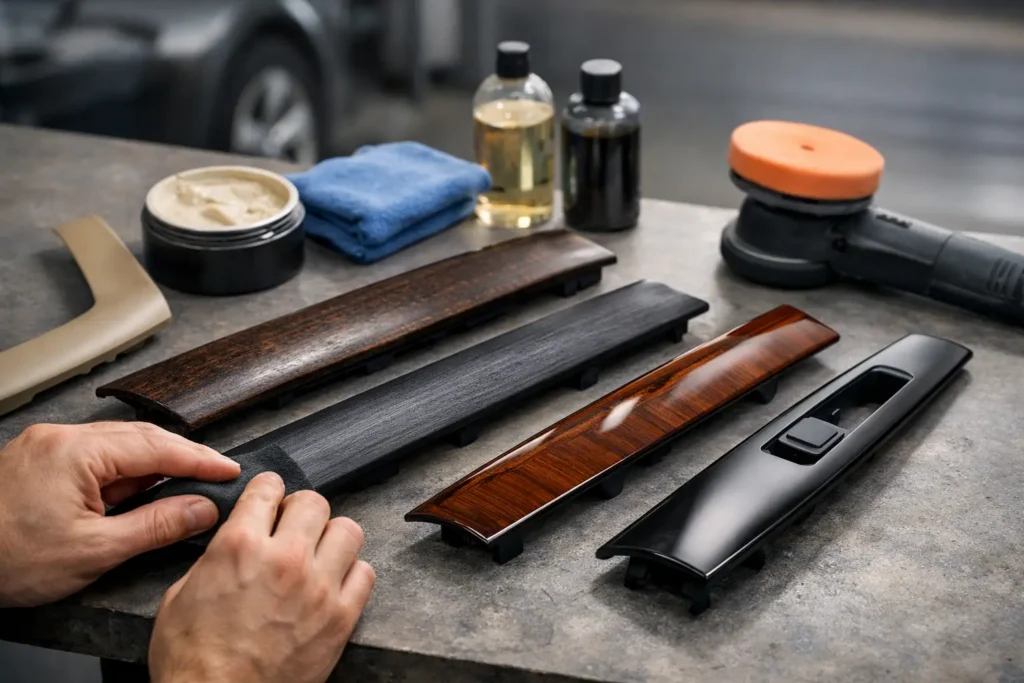
A faded dash bezel, peeling console finish, or cracked woodgrain insert can make a well-kept vehicle feel years older the moment you sit down. This guide to restoring interior trim pieces explains what can be repaired, what requires a full refinish, and how to make choices that hold up to real use instead of looking good for one season.
Interior trim is not one material. A single cabin may combine molded plastic, soft-touch coatings, painted surfaces, genuine wood, simulated woodgrain, aluminum, leather, carbon fiber, and painted composite parts. Each one needs a different preparation method and finish system. The best restoration begins with an accurate diagnosis, not a one-size-fits-all product.
Start by Identifying the Type of Damage
Surface wear often looks worse than it is. Light scratches, dullness, color fade, and small chips can usually be corrected when the underlying material remains stable. Peeling coatings, deep gouges, warped plastic, broken mounting tabs, and delaminated veneers require more involved repair before any color or clear coat is applied.
Pay close attention to the areas your hands touch most: door pulls, console lids, shifter surrounds, radio bezels, steering wheel trim, armrests, and dash panels. Oils from skin, sunscreen, interior cleaners, and heat all break down original coatings over time. On luxury vehicles especially, the soft-touch finish may become sticky, glossy, or begin lifting away from the substrate.
A proper evaluation should account for more than the visible flaw. Check whether the part has been previously painted, whether clips and tabs are intact, and whether its color needs to match surrounding components. A repaired console trim panel that is slightly too warm, too matte, or too glossy can stand out just as much as the original damage.
Guide to Restoring Interior Trim Pieces by Material
The material determines the repair path. Trying to treat every trim piece the same is one of the fastest ways to create a finish that peels, cracks, or looks noticeably non-factory.
Plastic and Soft-Touch Trim
Many modern interiors use molded ABS plastic with a painted or soft-touch outer coating. If the original coating is peeling or sticky, it must be removed completely and the surface must be cleaned of contaminants. Painting over a failing layer simply traps the problem underneath the new finish.
After stripping, the surface is repaired, sanded, and prepared for adhesion. The part can then be color-matched and refinished in the appropriate sheen. This is where craftsmanship matters. Factory interiors rarely use a high-gloss look on everyday trim. The correct satin, matte, or low-luster finish helps the part blend with the dash, doors, and console rather than looking freshly spray-painted.
Wood and Woodgrain Trim
Wood trim can be genuine veneer, solid wood, or a printed woodgrain layer beneath clear coating. Genuine veneer with cloudy clear, sun fade, scratches, or minor cracks may be refinished while retaining its original character. Deep veneer damage may require stabilization or replacement work before a new finish can be built over it.
Simulated woodgrain is different. Once the printed pattern is worn through, sanding alone cannot bring it back. Depending on the part and the desired result, restoration may involve recreating the original appearance, applying a custom finish, or converting the piece to another material treatment. The right decision depends on whether factory authenticity or a personalized interior is the goal.
Carbon Fiber and Composite Pieces
Carbon fiber trim can suffer from yellowed clear coat, scratches, chipped edges, or lifted resin. Cosmetic clear-coat damage can often be corrected, but exposed or damaged weave needs a closer inspection. If the structural layers are compromised, the repair should address that issue before refinishing.
For owners considering a carbon fiber conversion, fitment and edge treatment matter as much as the visible weave. Corners, switch openings, and recessed areas must be finished cleanly. A premium carbon fiber part should look intentional from every angle, not like a decorative film applied over an existing panel.
Leather-Wrapped Trim and Touch Points
Armrests, console lids, shifter boots, e-brake handles, and steering wheel components develop a different kind of wear. Leather becomes glossy, dry, stretched, discolored, or cracked. Minor color loss can sometimes be corrected, but worn-through leather, failed stitching, or hardened material calls for reupholstery rather than a quick touch-up.
Matching the grain, stitching, thread color, perforation pattern, and padding profile is what separates a convincing restoration from a temporary cover-up. For custom work, this is also an opportunity to introduce contrast stitching, suede, upgraded leather, or a color that complements the rest of the cabin.
Preparation Is What Makes a Refinish Last
The visible color coat gets attention, but preparation determines durability. Every piece should be thoroughly cleaned to remove silicone dressings, oils, wax residue, and previous repair products. Contamination can cause fisheyes, adhesion failure, and uneven color even when the painting technique is otherwise correct.
Damage is then repaired with materials compatible with the original substrate. Gouges need to be filled and shaped without creating a soft spot that shrinks later. Cracks may need reinforcement from behind the part. Broken tabs need a repair method strong enough to survive removal and reinstallation, not just hold together long enough for a photo.
Sanding should level damage and create a stable surface for coatings without erasing molded texture or softening body lines. This is particularly important on rare trim, vintage dashboards, and pieces with sharp chrome or wood transitions. Aggressive sanding can turn a repairable original component into a part that no longer fits or looks correct.
Match Color and Sheen, Not Just the Paint Code
Interior colors are more complex than exterior paint codes. Black trim can range from charcoal to blue-black, while tan and gray interiors often contain several related shades. Age, sunlight, and cleaning products can also alter the surrounding components, meaning the original factory formula may not perfectly match the cabin as it sits today.
Color matching should be done against the actual interior whenever possible. Just as important is sheen. A trim piece can have the right color but still look wrong if it is too flat beside satin panels or too glossy beneath a matte dashboard. Texture, metallic content, and clear-coat depth all influence the final result.
For a custom interior, consistency matters even more. If the steering wheel trim, console, dash pieces, and door accents are being changed together, they should be planned as a complete visual system. A carbon fiber accent, painted trim color, and leather choice should support the vehicle’s design instead of competing for attention.
Know When a DIY Repair Is Enough
A careful owner can often handle light cleaning, minor polishing, and limited touch-up work on a common, low-risk trim part. The trade-off is that consumer repair products rarely provide the color accuracy, surface preparation, and coating durability expected in a high-value interior.
Professional restoration is usually the better choice when the part is rare, discontinued, heavily damaged, leather-wrapped, wood-veneered, or difficult to replace. It also makes sense when several pieces must match. Sending original parts to a specialist allows the work to be performed away from the vehicle, with proper access to edges, recesses, and mounting areas.
At Craft Customs, interior components are restored and customized in-house, allowing worn trim, consoles, armrests, steering wheel pieces, and dash accents to receive material-specific preparation and finishing. That controlled process is especially valuable when an owner wants factory-new appearance, a precise color match, or a fully coordinated custom interior.
Reinstall With the Same Care Used to Restore
A newly refinished part can be damaged during installation if clips are forced, fasteners are overtightened, or trim tools are used carelessly. Confirm that mounting tabs, clips, screws, switch openings, and retaining points are clean and aligned before pressing a part back into place.
Once installed, protect the finish with restrained cleaning. Use a soft microfiber towel and interior-safe products rather than harsh solvents, abrasive pads, or heavy silicone dressings. UV protection is useful for dash and door trim, but the product should not leave a greasy film that attracts dust or changes the intended sheen.
The best interior restoration does more than hide wear. It restores the feeling that every surface belongs in the vehicle, from the trim your hand reaches for first to the details passengers notice later. Choose the repair method based on the material, the damage, and the standard you want the finished cabin to meet.