
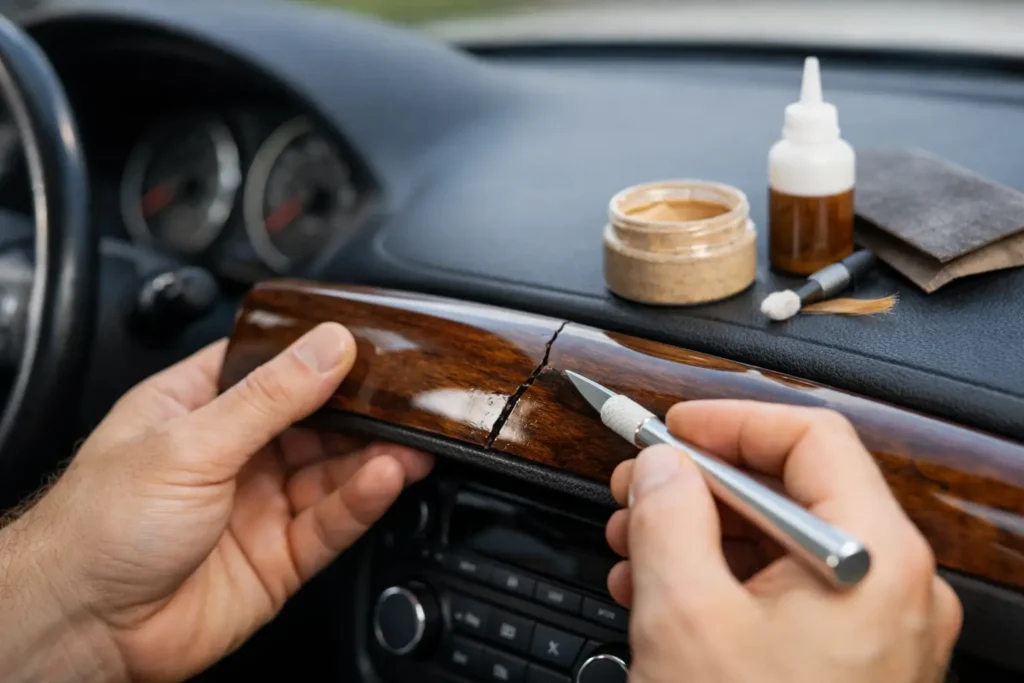
A cracked wood dash can make an otherwise well-kept interior look tired fast. Before learning how to repair cracked wood dash trim, determine what you actually have: real wood veneer, a solid wood component, or molded plastic with a woodgrain finish. The repair method, materials, and expected result are very different for each one.
A careful repair can preserve original trim and restore the rich, finished appearance the interior was designed to have. A rushed repair, especially one involving heavy sanding, thick filler, or the wrong clear coat, can turn a repairable piece into a replacement-only problem.
Start by Identifying the Dash Material
Many classic, luxury, and higher-end vehicles use real wood veneer bonded to a stable backing. The veneer may be walnut, burl, maple, rosewood, or another figured species, finished under multiple layers of tinted or clear coating. Age, heat, sunlight, and changes in humidity can cause that veneer to split, lift, shrink, or separate from its backing.
Other vehicles use plastic trim finished with a printed woodgrain pattern or a translucent coating that creates the look of wood. If the underlying piece is plastic, a crack through the trim is usually a structural crack in the substrate, not a wood crack. Treating it like veneer will not produce a durable result.
Look closely at an inconspicuous edge, mounting hole, or the back of the panel. Real veneer has visible wood grain and a thin wood layer at the edge. Faux wood trim usually reveals molded plastic, a printed film, or a uniform composite material. If you are unsure, do not sand through the finish to find out. That test can cause more damage than the original crack.
Decide Whether the Damage Is Cosmetic or Structural
A hairline crack in the topcoat may look like a split in the wood, but it may only be failed lacquer or polyurethane. In that case, the wood beneath can be intact. A true veneer crack will often follow the grain and may have a slight gap, raised edge, or dark line where dirt has entered.
Press very lightly around the damaged area. If the surface flexes, sounds hollow, or moves independently from the backing, the veneer bond has failed. If a crack runs through mounting tabs, curves around vent openings, or crosses an area that carries stress, the panel may need structural reinforcement from behind before the cosmetic finish is addressed.
This distinction matters. Filling a moving crack may make it disappear briefly, but vibration, heat cycles, and dash flex will usually bring it back.
Remove the Trim Before Repairing It
The best wood dash repairs happen on a workbench, not inside the vehicle. Removal gives you clean access to the edges, back side, and mounting points while keeping sanding dust, adhesive, and finish materials away from leather, electronics, glass, and soft-touch surfaces.
Use the factory service information where possible. Photograph each stage, label fasteners, and use plastic trim tools rather than metal screwdrivers against finished edges. Older wood trim can be brittle around screw holes and clips, while some modern panels hide fasteners behind switches, vents, or airbag-related components.
If the part is near an airbag, instrument cluster, or electrical control module, disconnect the battery and follow the vehicle-specific procedure. If removal requires force, stop. A concealed screw or retaining clip is usually the reason.
How to Repair Cracked Wood Dash Veneer
A proper veneer repair is a sequence: stabilize the substrate, close the crack, level the surface, then rebuild the finish. Skipping the first steps may create a clean-looking repair that fails after a summer of sun exposure.
Clean the damaged area carefully
Remove silicone-based dressings, wax, skin oils, and dust before applying adhesive or finish. Use a mild automotive-safe cleaner first and keep moisture exposure minimal. Avoid soaking raw or lifted veneer. Excess liquid can swell the wood and loosen the bond further.
For cracks that have collected dark residue, clean the gap gently with a soft brush or compressed air. Do not widen the crack with a pick or knife simply to make filler easier to apply. Preserving the original edges helps the repair blend more naturally.
Rebond loose veneer before filling
If the veneer is lifting, it needs adhesive beneath it, not filler over it. A thin, controlled amount of appropriate wood adhesive can be worked under the loose section, then clamped with padded blocks that spread pressure across the area. The goal is to return the veneer to its original plane without creating dents or glue squeeze-out on the visible surface.
Clamp pressure must be firm but controlled. Too much force can split aged veneer, telegraph the grain into softened finish layers, or distort a curved panel. Let the adhesive cure fully before leveling or refinishing.
Fill only what cannot be closed
Once the veneer is stable, very narrow cracks can be filled with a color-matched repair material. The right fill depends on the depth, width, wood species, and final finish. A transparent or tinted resin may work for some deep splits, while a fine wood-compatible filler can be appropriate for small surface voids.
The trade-off is visibility. Opaque filler can hide a gap but may interrupt the natural grain. A resin repair can preserve depth but must be tinted and leveled accurately. On highly figured burl veneer, matching the movement and color variation by hand is often the hardest part of the restoration.
Apply material sparingly. A repair that sits proud of the surface requires more sanding, and excessive sanding is how thin veneer gets burned through at the edges.
Level the repair with restraint
After the repair has cured, level it using fine abrasives and a small, controlled sanding block. Work slowly and keep the surrounding finish in mind. Most automotive veneer is thin, and the goal is not to strip the panel flat. It is to make the repair flush while retaining the original contour, grain, and edge detail.
If the existing clear coat is heavily checked, yellowed, peeling, or cracked across the panel, spot repair may not be enough. Refinishing the complete piece usually gives a more consistent gloss and color. That is particularly true when dash trim is made up of several adjacent sections that need to match as a set.
Refinish for UV Resistance and Interior Durability
The final finish protects the repair as much as it improves appearance. A dash lives in one of the harshest places in a vehicle: direct sunlight, trapped heat, frequent temperature swings, and reflections through the windshield.
A quality automotive-grade clear finish should provide UV resistance and the correct sheen for the vehicle. Some factory wood trim is glassy and high-gloss; other interiors use a softer satin finish. Matching the sheen is just as important as matching the color. A repaired panel with the wrong gloss can look out of place even when the crack itself is invisible.
Color may need correction before clear coating, particularly if the surrounding wood has faded or the repaired area is lighter than the original finish. Stain alone is rarely a precise answer on automotive veneer. Tinted coatings and hand-applied color work often provide better control, especially around grain, burl patterns, and shaded borders.
Allow the finish to cure completely before reinstalling the part. Fresh coatings can mark easily under clips, screws, or trim pressure, even when they feel dry to the touch.
Repairing Faux Wood Dash Trim
For molded plastic woodgrain trim, begin by repairing the plastic substrate. Cracks may need to be stabilized from the rear with plastic repair material, reinforcement, or controlled welding, depending on the plastic type and crack location. The face then needs leveling before its appearance can be restored.
The challenge is recreating the woodgrain. A solid brown paint repair may conceal the crack but will stand out against surrounding printed grain. Some pieces can be refinished in a new woodgrain style, painted to complement the interior, or converted to another finish such as carbon fiber or a custom color. If originality matters, the goal should be to reproduce the factory look across the entire trim set rather than patching a single visible spot.
When a Professional Repair Is the Better Value
DIY repair is reasonable for a small, stable crack on a simple panel, particularly when the owner accepts that close inspection may reveal the repair. It becomes less practical when the trim is rare, highly figured, curved, delaminating, structurally broken, or part of a matched interior set.
Professional restoration is also the safer choice when a finish must match factory wood tone, gloss, and grain across several pieces. Craft Customs restores and refinishes interior trim in-house, with the material control and color-matching work needed to make damaged wood or woodgrain parts look at home in the vehicle again.
A cracked dash does not have to remain the detail that dates the whole cabin. Treat the cause as carefully as the surface, protect the original material wherever possible, and choose a repair standard that matches the value of the vehicle you plan to enjoy.